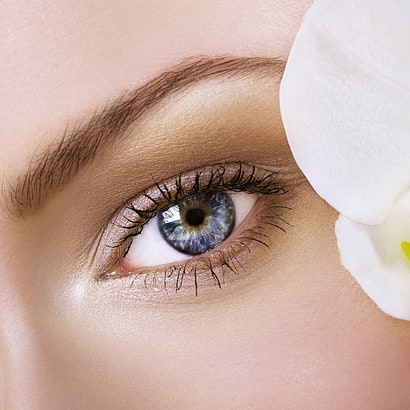
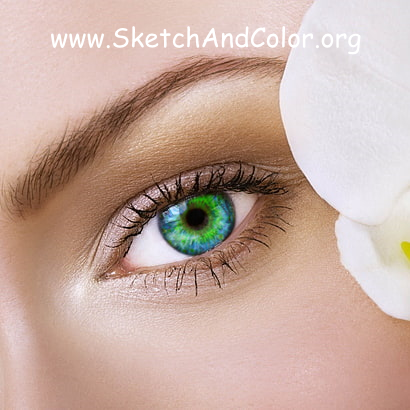
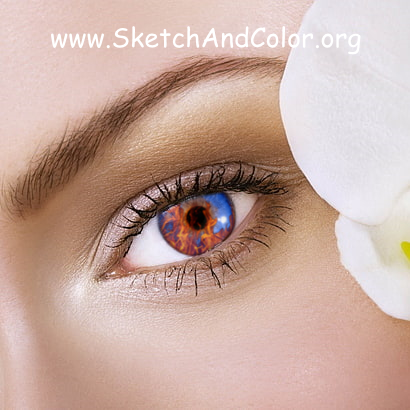
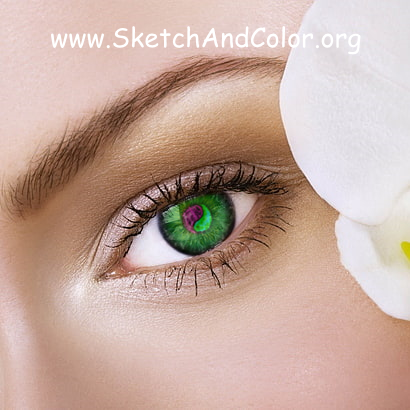
Change eyes color
Pick one photograph, set left iris and right iris, choose a new iris or a new color and share it.Change eyes color.
1. Choose a photo
- Pick one of your favourite photographs by searching on your own computer and feed it via the folder button. Or maybe the picture you are trying to stylize is already on the web? In that case just copy and paste the image URL
- Hint - If you have a picture which is already on Facebook, and is publicly visible, just use the address that you find under right click "Copy image URL". Do not use the address that you see in the browser because that won't work ;)
- Hint - For the most impact use a photo that represents a closeup of your eyes
2. Now fine tune it

- Use the "Set left iris" and "Set right iris" buttons. A guiding shape will appear on the screen resembling an eye with two lids. Now zoom in the image so that your iris fits the red circle as accurate as possible (you can also drag the image here with the mouse). Don't worry if the iris is partially hidden by the lids.
- If the iris is not completely visible, we need to exclude the hidden parts from our selection, so that we only mark the area that we want to change the color for. This is where the guiding dots come into play.
- The two arcs marked by the dots represent the upper, respective the lower eyelid line.
- Drag the dots so that the eventual upper eyelid is contained in the circle section above the green dots. If needed, drag the dots so that the eventual lower eyelid is contained in the circle section below the blue dots too.
- When you are satisfied with the selection click OK.
- Now just repeat the same process for the other eye and then you can set the color with the "set color" button.
3. Play around with colors
- Play around with the colored disk and see the eye color changing in real time. Save the image when you think it looks the best.
- After you save your previous work the image is posted in the main gallery. You can choose to keep it or delete it. Use the download button if you are satisfied with the result.
- Note - Usually the images that you download have the ".png" extension because they are small in size but they still look crisp and beautiful
